How to work with dough
Working with dough can be a delightful and rewarding experience, whether you are a seasoned baker or a novice in the kitchen. To start, it’s crucial to gather all the necessary ingredients and tools before diving in. Measure out the flour, salt, sugar, and yeast meticulously, as accuracy is key in achieving the perfect dough consistency. Next, mix the dry ingredients together in a large bowl, gradually adding warm water or milk to form a sticky dough. Kneading the dough is an essential step that helps develop the gluten, resulting in a lighter and more elastic texture. Use the heel of your hand to push and stretch the dough away from you, folding it back in a smooth and rhythmic motion. Remember to be patient during this process, as kneading can take several minutes. Once the dough is adequately kneaded, cover it with a clean kitchen towel and leave it in a warm, draft-free area to rise. This allows the yeast to ferment, causing the dough to double in size. After the dough has risen, it is ready to be shaped and baked into delicious bread, rolls, or any other desired form. With practice and a little patience, working with dough can become a satisfying and enjoyable culinary adventure.
What to add to the dough for better taste?
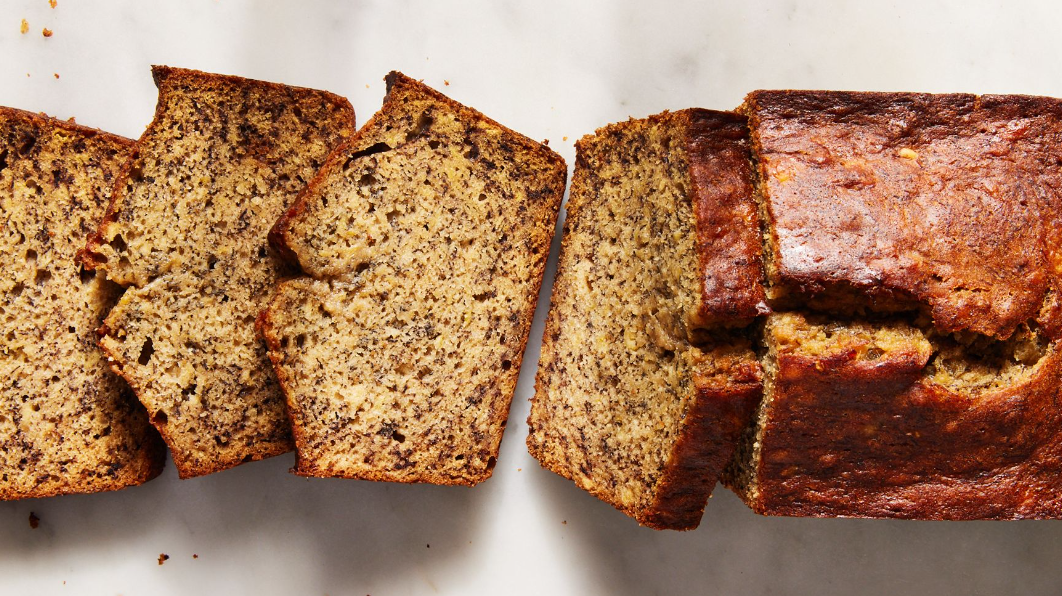
When it comes to baking, the taste of the dough is just as important as the final product itself. There are several ingredients that can be added to the dough to enhance its flavor and create a more delicious outcome. One popular addition is vanilla extract, which adds a subtle sweetness and depth to the dough. Another option is using citrus zest, such as lemon or orange, to infuse a refreshing and tangy flavor. For those who prefer a more savory taste, herbs like rosemary or thyme can be incorporated into the dough to provide an aromatic and earthy note. Additionally, adding a pinch of salt can enhance the overall taste by balancing the sweetness and bringing out the flavors of other ingredients. Lastly, experimenting with different spices like cinnamon, nutmeg, or cardamom can elevate the dough’s taste, creating a warm and comforting sensation. Ultimately, the key is to be creative and adventurous, allowing personal preferences to guide the selection of ingredients for an irresistibly flavorful dough.
How to make ciabatta?
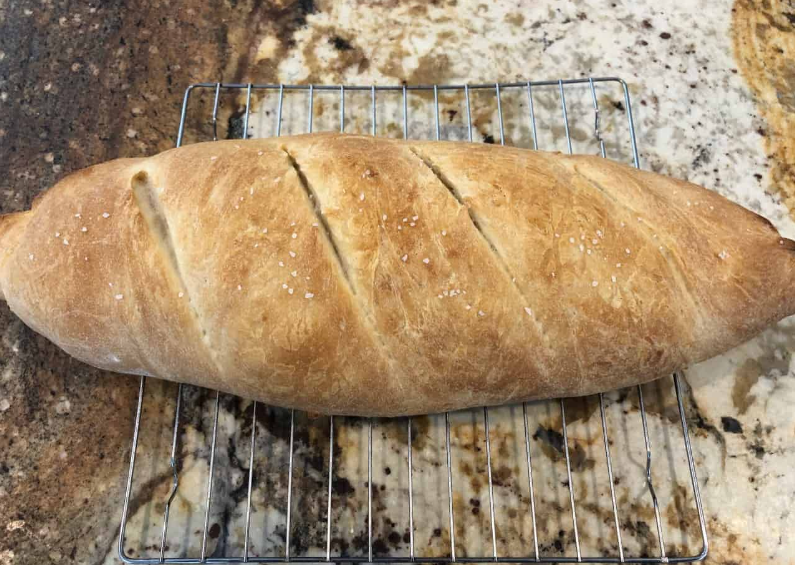
Ciabatta, a classic Italian bread known for its airy texture and crispy crust, can be made at home with just a few simple ingredients and a bit of patience. To start, combine bread flour, water, yeast, and salt in a large mixing bowl. Stir until the ingredients are well incorporated, then cover the bowl and let the dough rise for about two hours. Once the dough has doubled in size, gently turn it out onto a floured surface and divide it into two equal portions. Shape each portion into a rectangular loaf, being careful not to deflate the dough too much. Transfer the loaves onto a baking sheet lined with parchment paper and let them rise for another hour. Preheat the oven to 450°F (230°C) and place a shallow pan of hot water on the bottom rack to create steam. Bake the ciabatta for about 25-30 minutes or until golden brown. Remove from the oven and let cool on a wire rack before slicing. Enjoy this homemade ciabatta with your favorite dips, spreads, or as a delicious base for sandwiches.

Step-by-step cooking guide with photos
A step-by-step cooking guide with photos is an invaluable resource for both novice and experienced cooks alike. This visual aid ensures that every stage of the recipe is clearly understood, allowing individuals to follow along with ease. Whether it’s a complex dish or a simple recipe, the inclusion of photos helps to eliminate any confusion or uncertainty. Each step is meticulously documented, from the initial preparation of ingredients to the final plating of the dish. The photos provide a visual representation of what the end result should look like, inspiring confidence in the cook and encouraging them to replicate the recipe with precision. Additionally, a step-by-step cooking guide with photos can be a great teaching tool for those learning to cook. It breaks down the process into manageable stages, making it accessible for beginners. By following the clear instructions and matching their progress to the accompanying photos, individuals can gain the necessary skills and confidence to create delicious meals in their own kitchen.