
As grocery prices continue to soar, we are all experiencing the impact. Hence, I have made the decision to revisit some of my previous bread recipes. There has never been a better time to acquire the skill of making homemade bread than now! Crafting this incredibly delicious honey wheat bread is not only cost-effective, requiring only a few dollars, but it also yields a soft, fluffy, and flavorful loaf that is ideal for toast or sandwiches. Furthermore, although it does require some time to prepare, a majority of it involves allowing the dough to rise without any hands-on involvement, giving you the opportunity to attend to other tasks. 😉
What’s in Honey Wheat Bread?
To begin making this recipe, gather the essential ingredients for yeast bread, including flour, salt, and yeast. Enhance the bread’s flavor with a touch of honey, providing a subtle sweetness, and incorporate some olive oil to maintain a soft texture, especially the crust. Achieve a light and airy consistency by utilizing a mixture of whole wheat and all-purpose flour for this delightful bread.
Can I use All Whole Wheat Flour?
Making bread using 100% whole wheat flour instead of a combination of white and wheat flour typically results in denser and heavier bread. This is because whole wheat flour has a higher moisture absorption rate compared to all-purpose flour. Therefore, it might be necessary to slightly adjust the ratios when using whole wheat flour. In my experience, a combination of 50% whole wheat flour and 50% all-purpose flour yields the best texture and overall results.
How to Store Homemade Bread
Ensuring homemade bread cools down entirely to room temperature before storing is crucial in order to avoid steam entrapment and condensation formation. Unlike store-bought bread, homemade bread lacks preservatives; hence, it must either be consumed promptly or frozen for extended storage.
To prevent moisture build-up, it is advisable to wrap homemade bread in cloth or paper when storing it at room temperature. This method allows for adequate airflow. Generally, homemade bread can last for approximately 2-3 days under such conditions.
To ensure longer freshness, store the bread in an air-tight container when refrigerating. This method is ideal for me as I typically don’t consume bread rapidly. Refrigerated bread can maintain its quality for approximately 5-6 days.
To ensure long-term storage of your bread, freezing is recommended. It is advisable to slice the bread before freezing, allowing you to conveniently thaw or use 1-2 slices at a time without needing to thaw the entire loaf. For added convenience, you can even toast the slices straight from the freezer. Remember to freeze the bread in airtight and durable freezer-safe containers, such as freezer bags.

How to Make Honey Wheat Bread – Step By Step Photos

To begin, combine 1 tablespoon of honey and 2 teaspoons of instant yeast or active dry yeast in 1.25 cups of warm water until fully dissolved. Leave the mixture aside to allow the yeast to bloom, resulting in a thick layer of foam on the surface.
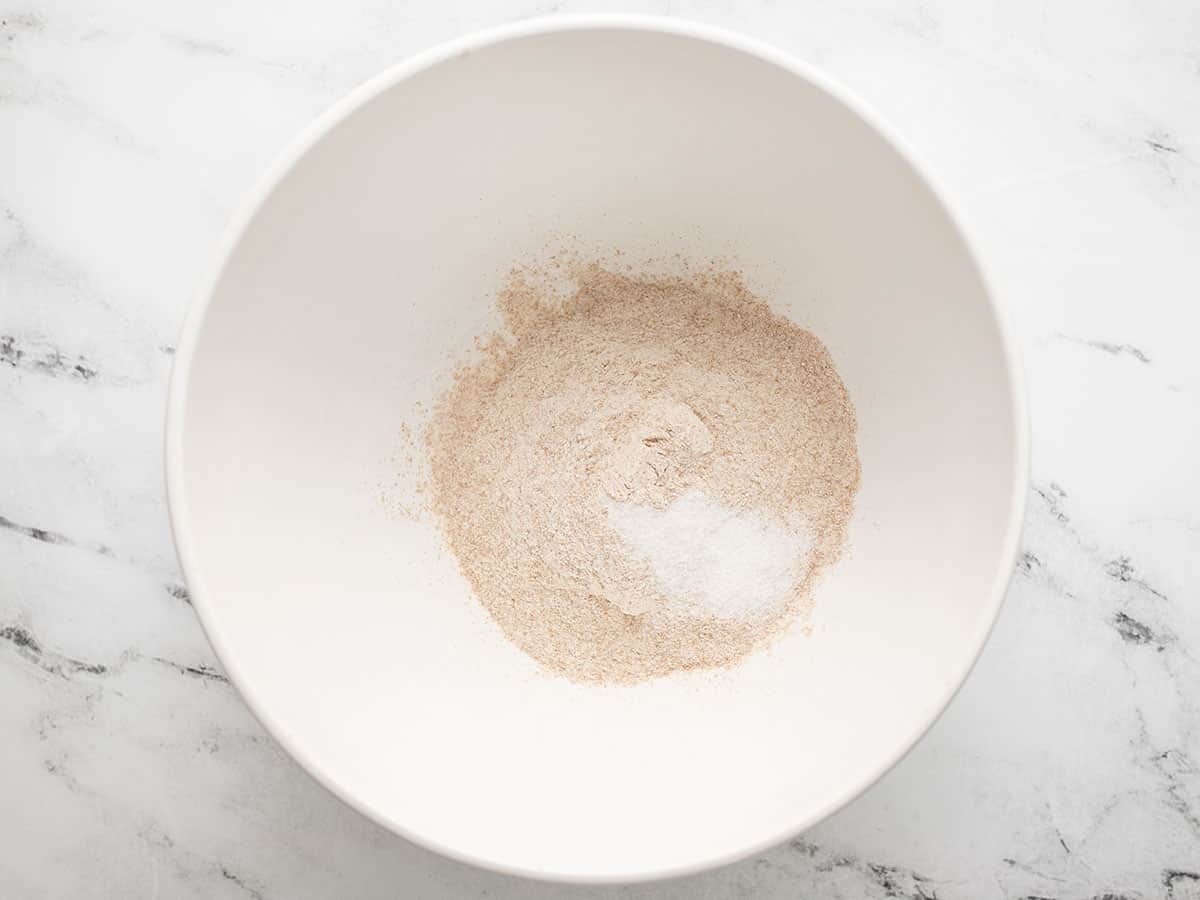
As you wait for the yeast to bloom, take a bowl and mix in 1 cup of whole wheat flour along with ½ tablespoon of salt. Ensure the ingredients are well combined by stirring.
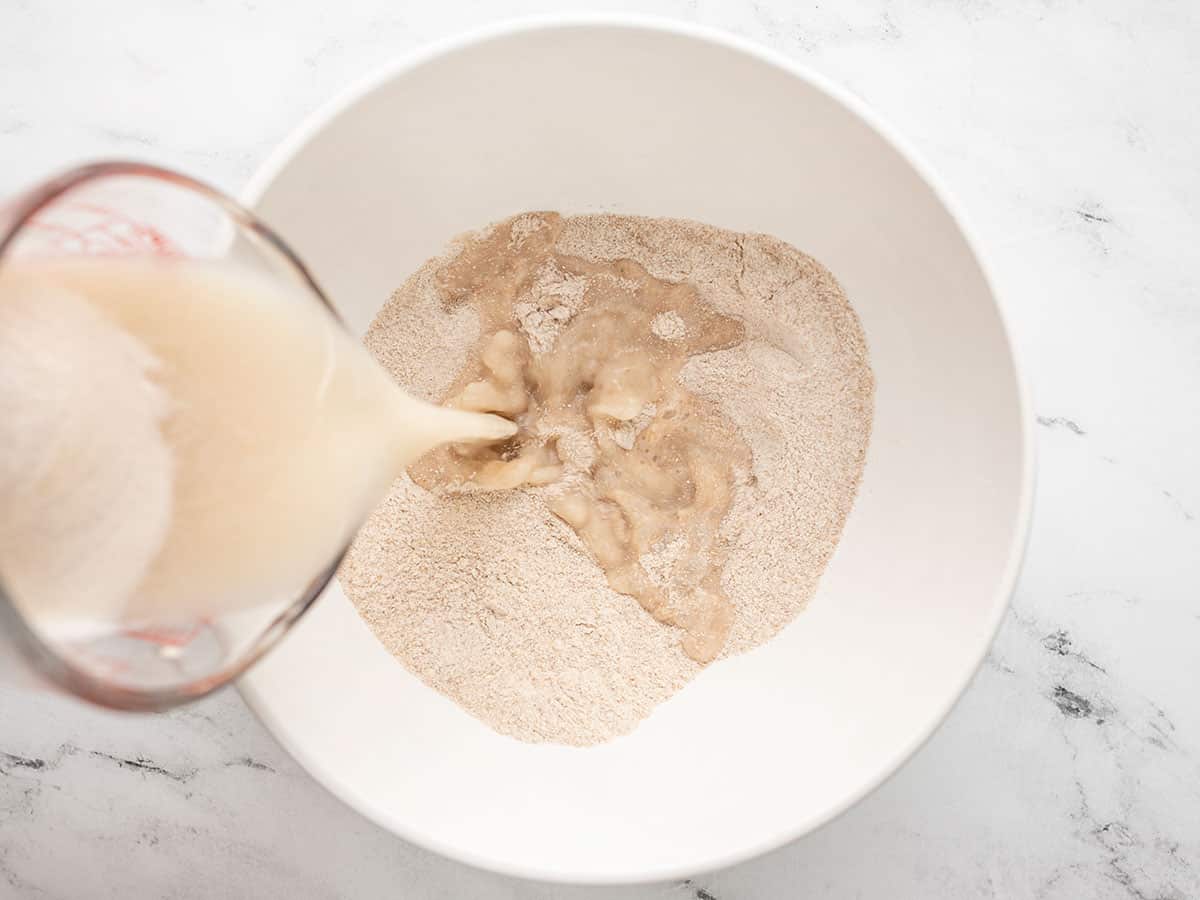
After the yeast has bloomed, add 1 tablespoon of honey and 3 tablespoons of olive oil into the yeast water. Mix well before pouring the mixture into the bowl containing the flour and salt. Stir the ingredients together until they are thoroughly combined.

Add an additional ½ cup of whole wheat flour to the dough and mix well.

Begin incorporating all-purpose flour, gradually adding ½ cup at a time, until the dough becomes too thick to be stirred with a spoon.

Once a shaggy ball of dough has formed, which is no longer stirrable with a spoon, it is necessary to transfer the dough onto a floured surface for kneading.
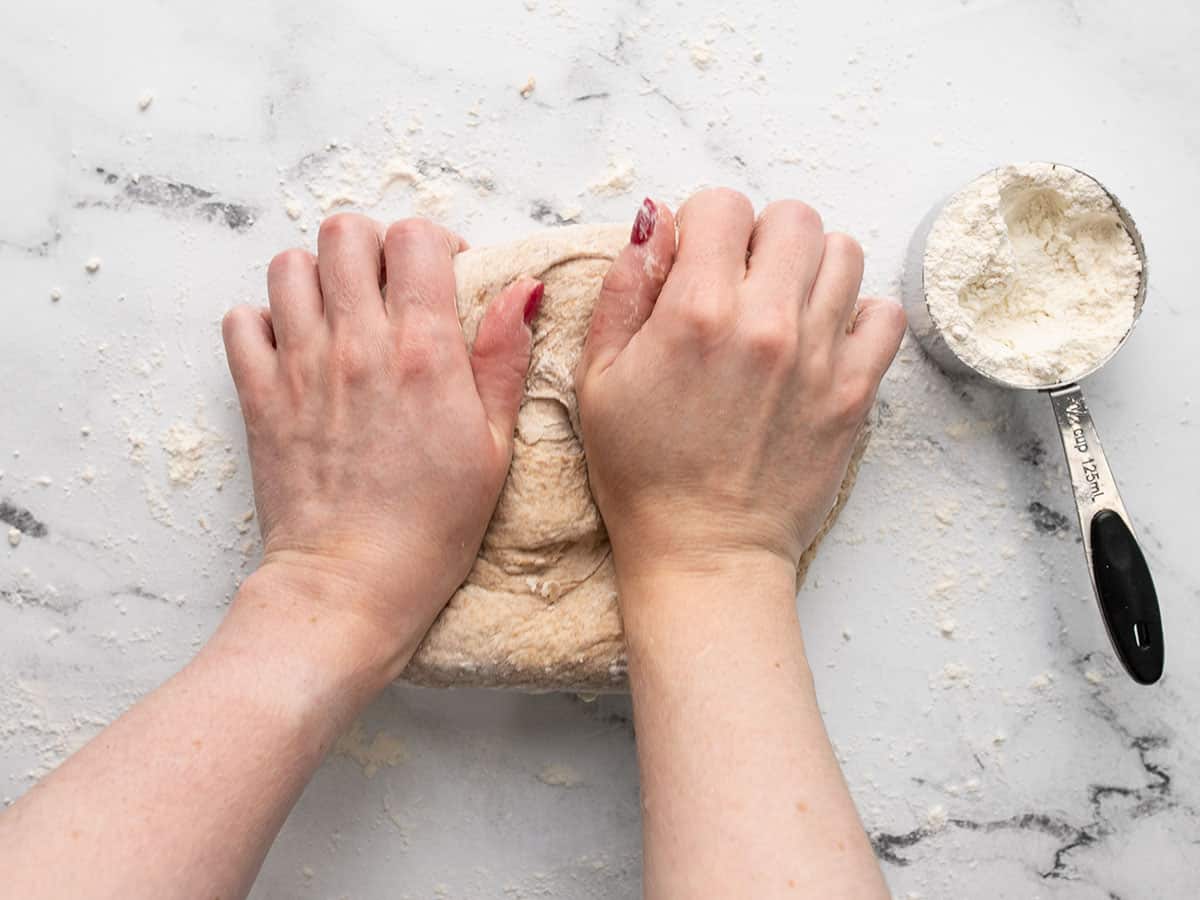
Start adding small amounts of all-purpose flour while kneading. Continue kneading for approximately five minutes, or until the dough is no longer sticky but remains flexible. In my case, I used around 1.5 cups of all-purpose flour, but the exact amount may differ based on the flour type and the humidity in the room.
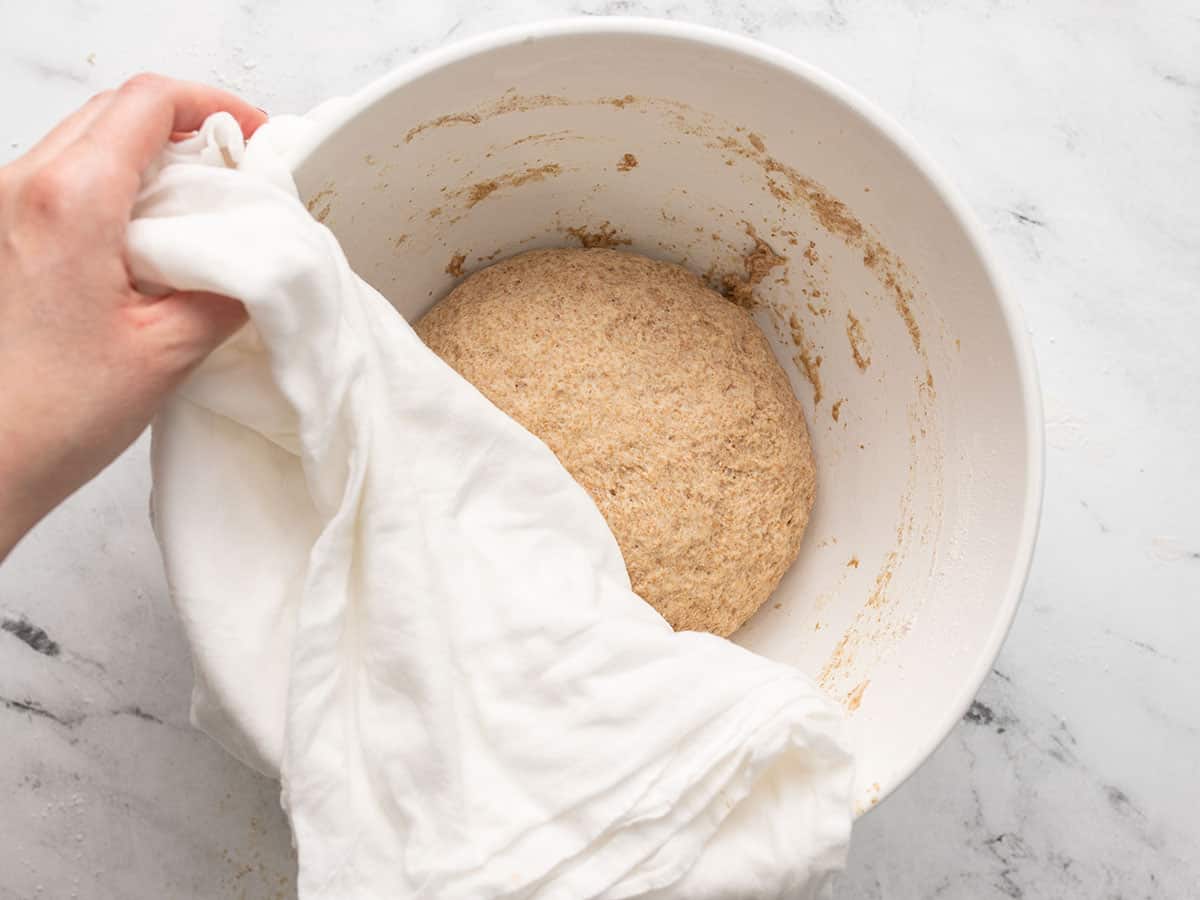
Return the kneaded dough to the mixing bowl and use a towel to cover it. Allow the dough to rise at room temperature for approximately one hour, or until it has doubled in size.
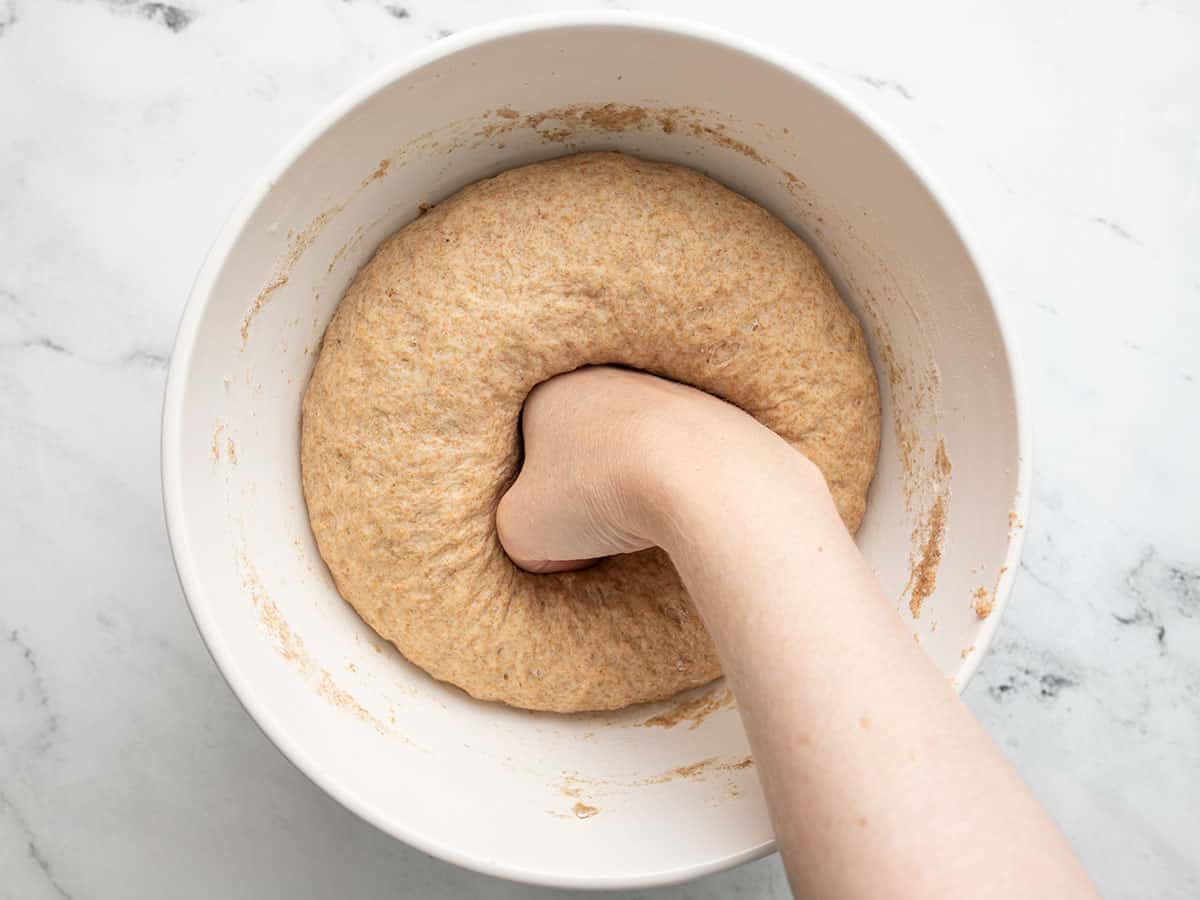
After the dough has doubled in size, gently press it down to release the air. Take the dough out of the bowl and form it into a log that matches the length of your bread pan.

To prepare the bread pan, apply a thin layer of olive oil before carefully transferring the shaped dough into it. Allow the bread to rise for an additional hour, or until it reaches a height approximately two inches above the rim of the pan.

To begin, preheat your oven to 375ºF. After the bread has finished rising, carefully place it in the oven and bake for approximately 30 minutes, or until the crust turns a rich brown color and produces a hollow sound when gently tapped.
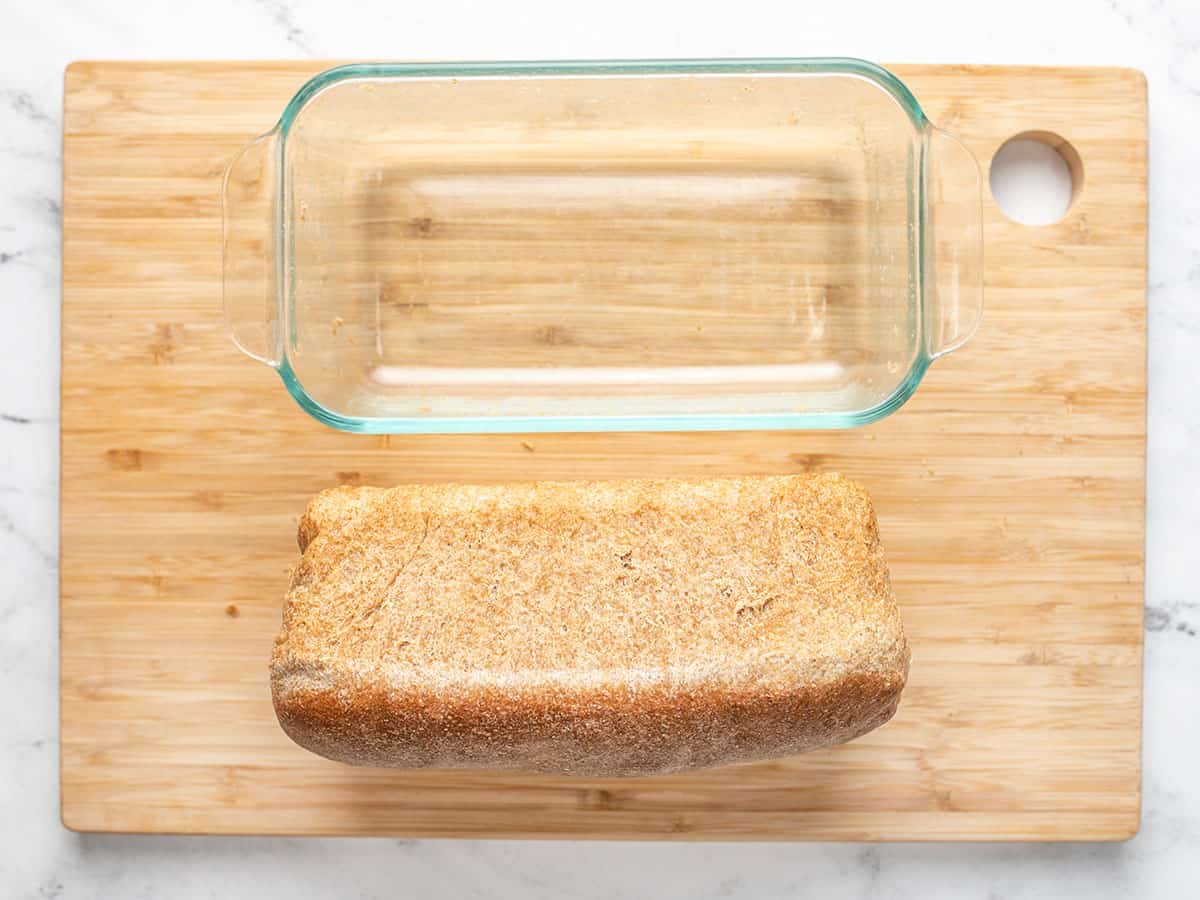
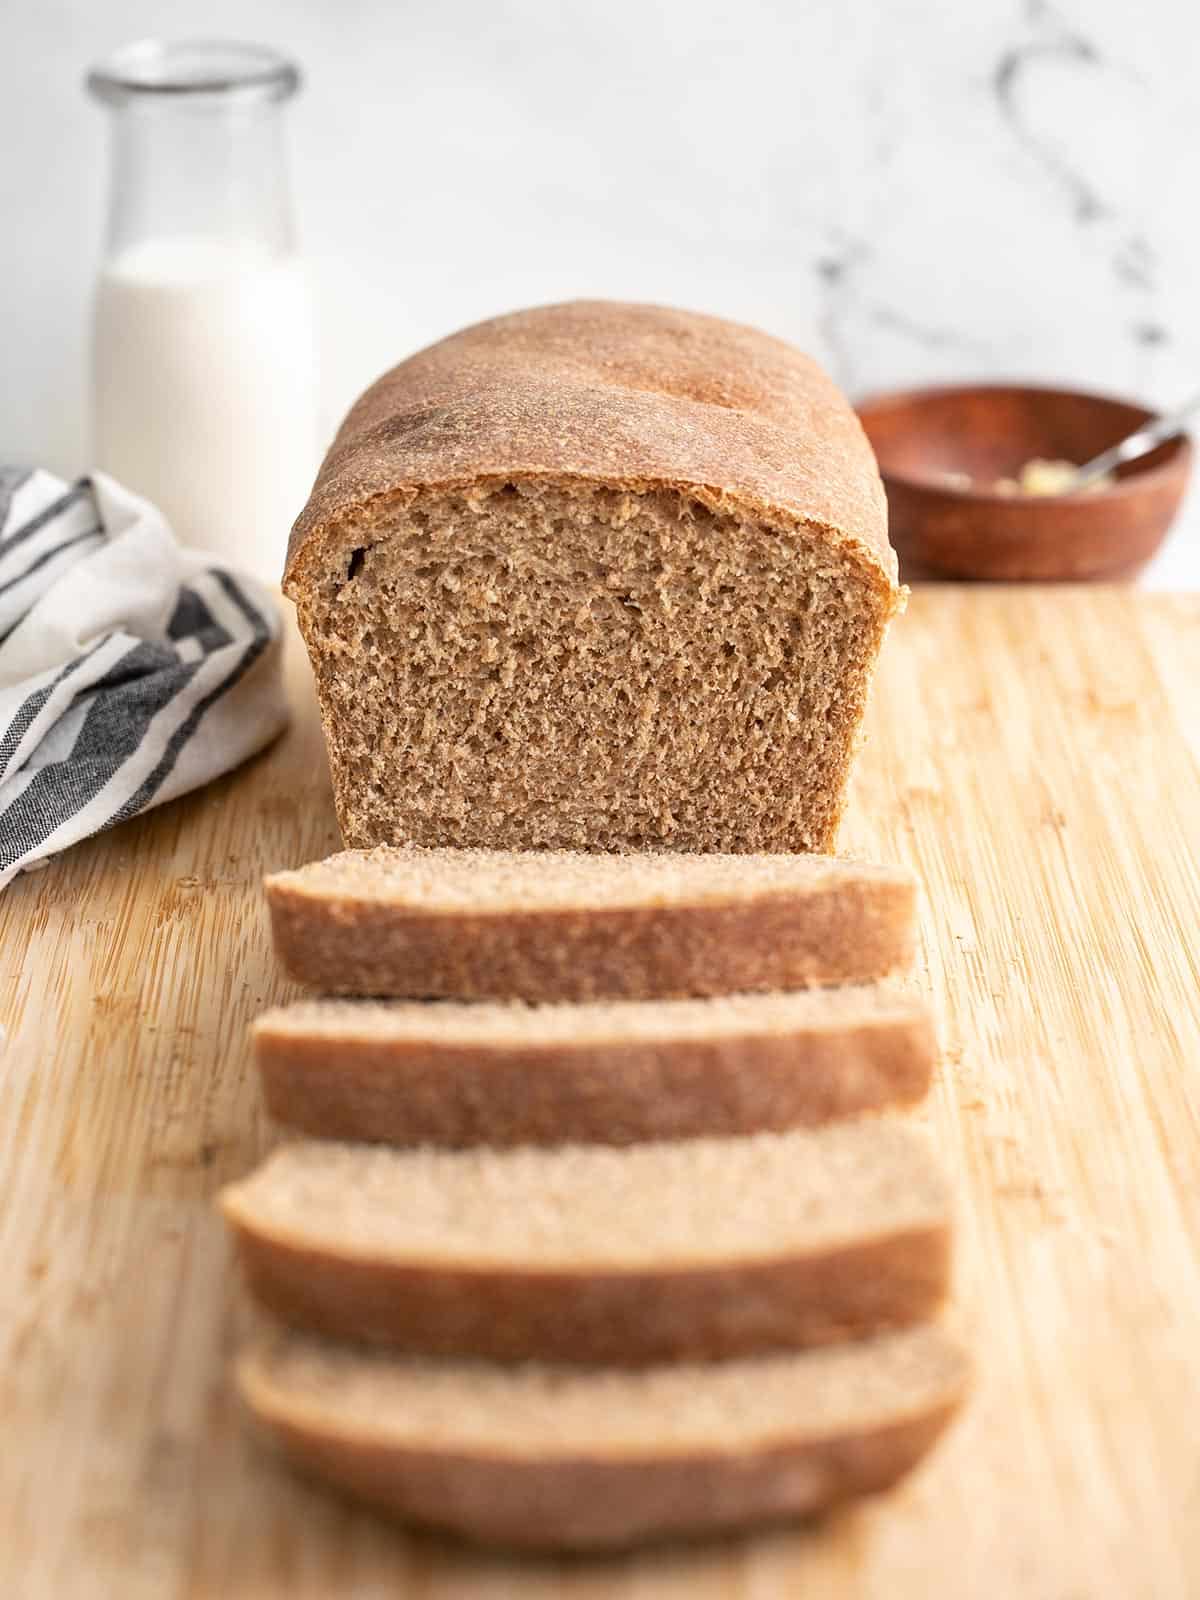
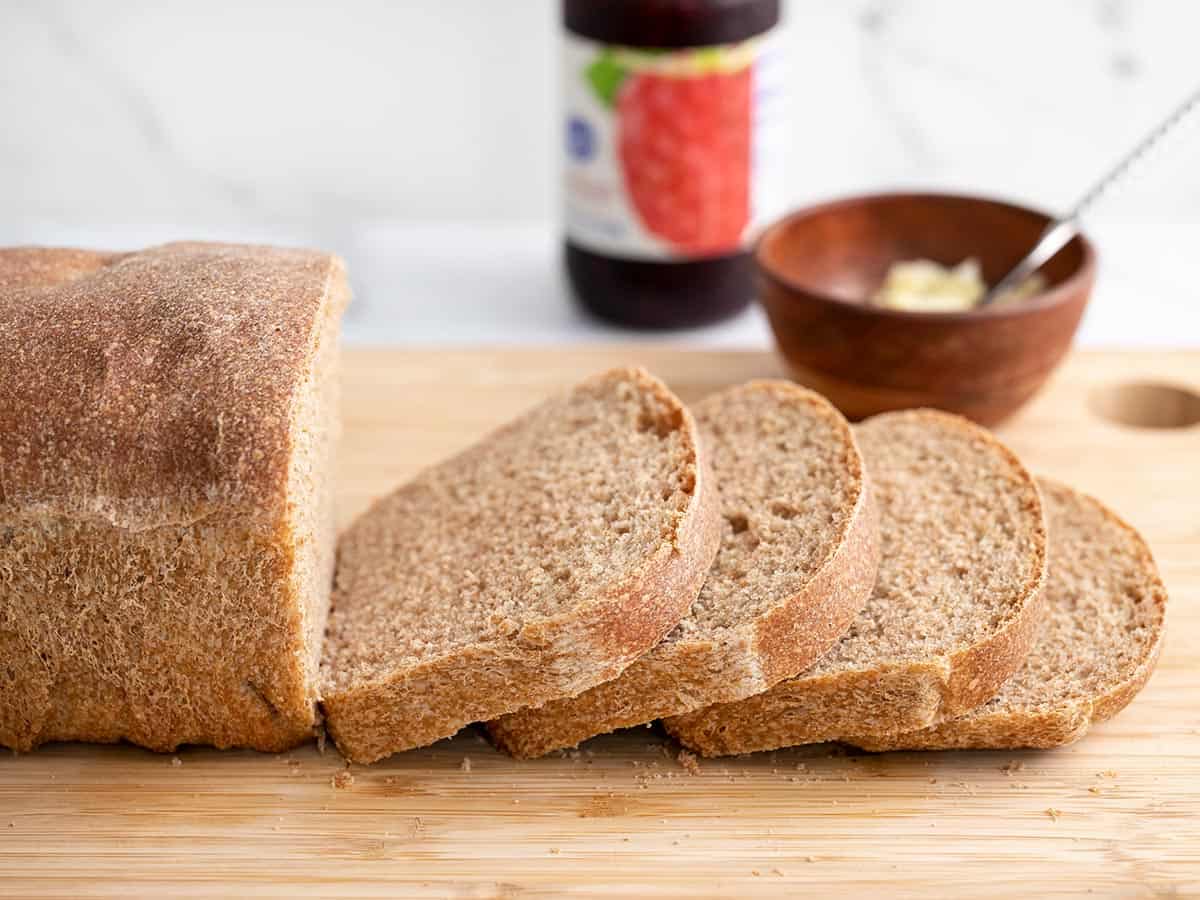
Once 30 minutes have passed, take the bread out of the oven. Allow it to cool for a brief period to facilitate handling, then gently extract it from the bread pan to complete the cooling process.
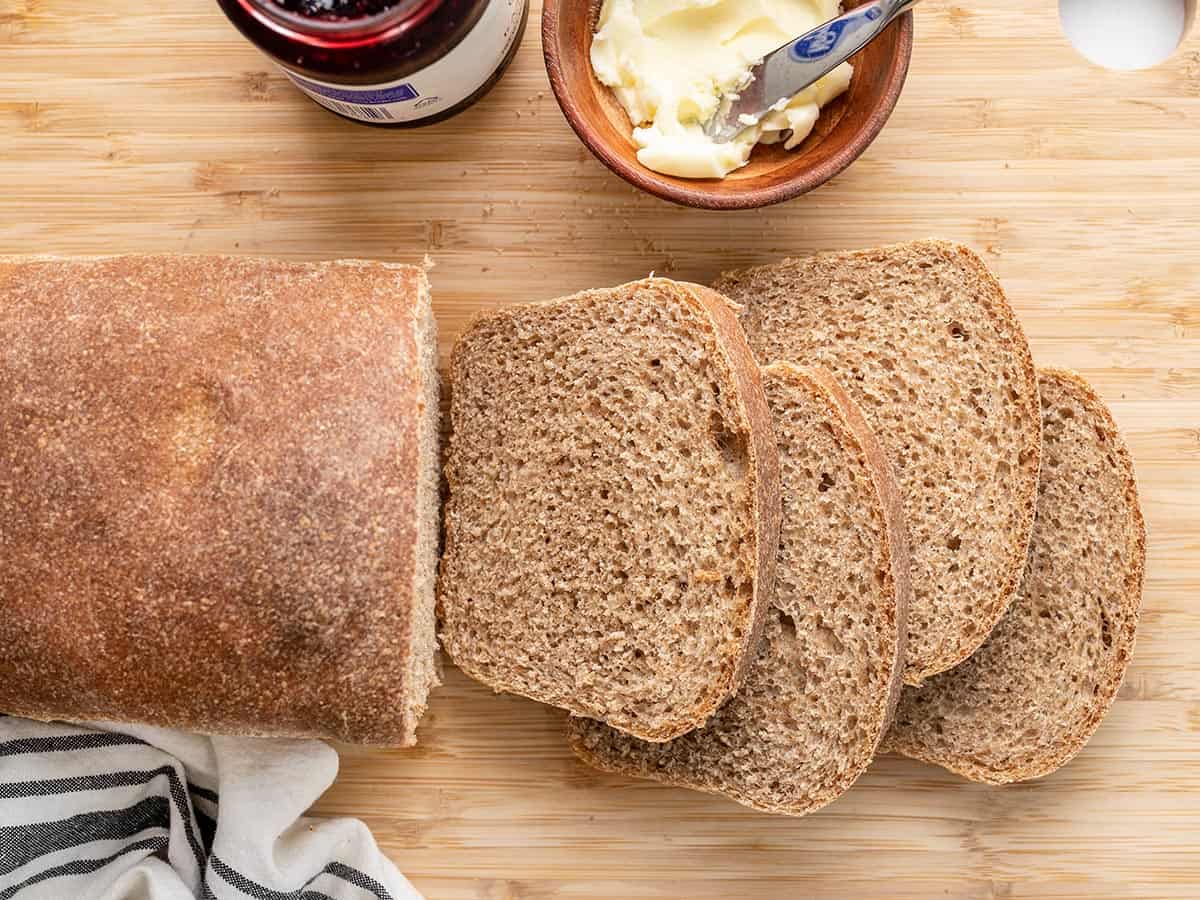
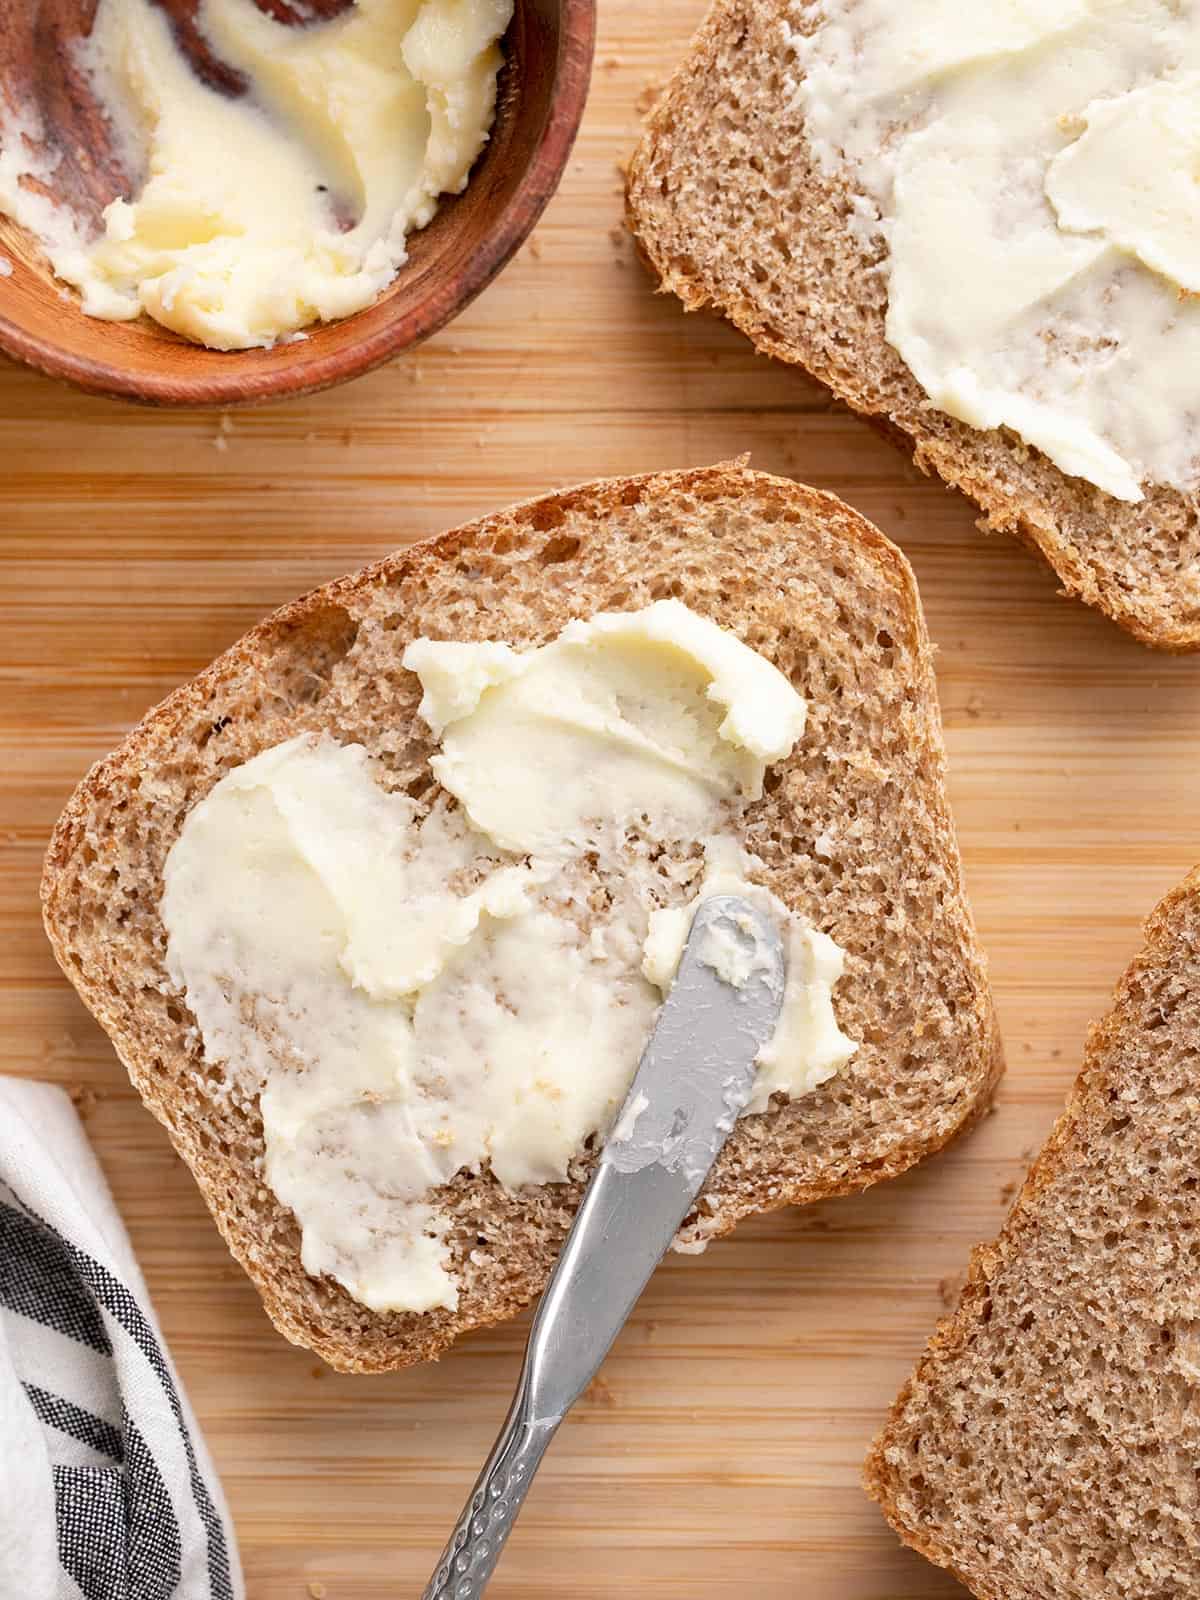
You can either slice and serve the bread once it has cooled, or store it for later!