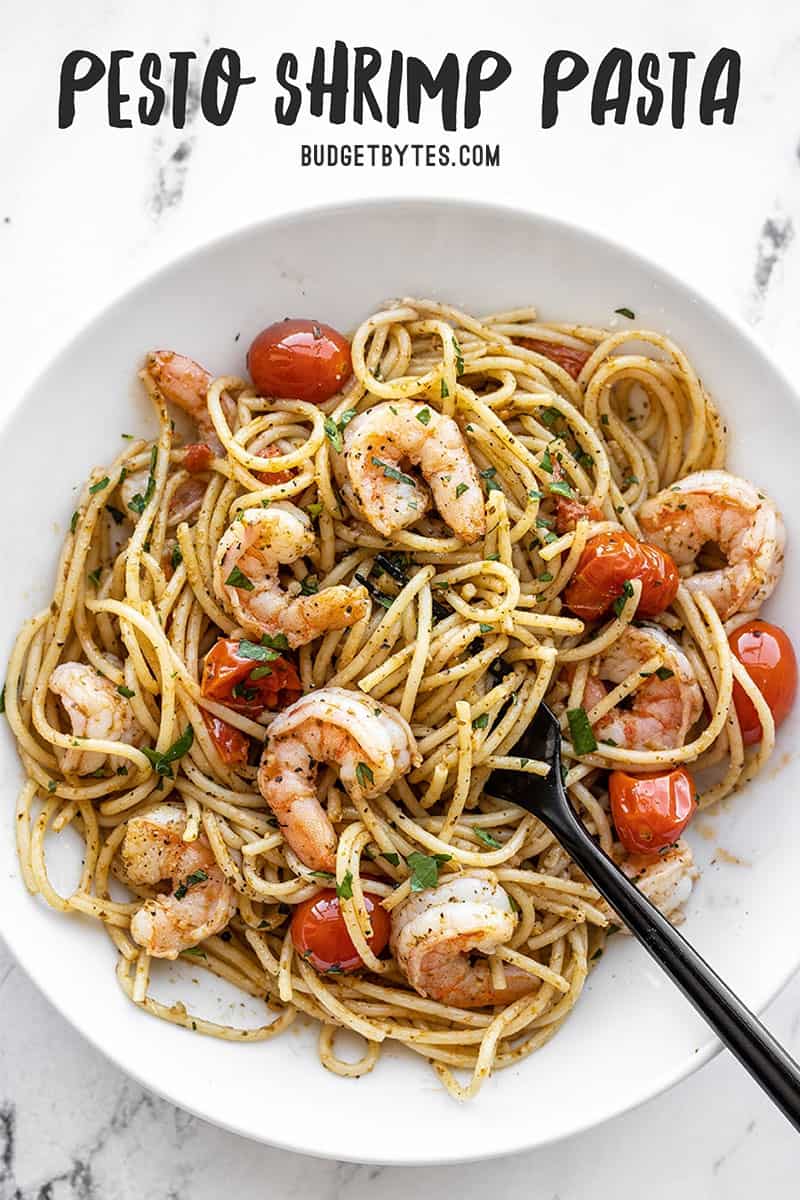
Recently, I’ve been exploring various shrimp recipes. Although shrimp can be pricey, combining it with budget-friendly pasta allows you to make a satisfying meal without breaking the bank. This Pesto Shrimp Pasta is an effortless and speedy recipe that will give you the sensation of dining at a high-end restaurant from the comfort of your own home. So, even if shrimp is a rare indulgence, you’ll save a significant amount by treating yourself to this dish at home instead of dining out.

The original posting of this recipe dates back to 2010. For the updated version, I have made slight adjustments to the recipe yield, ingredient quantities, and preparation method. If you prefer the previous version, feel free to contact us at [email protected], and we will gladly send you a pdf of the old recipe.
What Kind of Shrimp is Best for Pesto Shrimp Pasta
For optimal results in this recipe, it is recommended to use smaller sized shrimp as it allows for a greater distribution of shrimp pieces throughout the pasta. To determine the size of the shrimp, refer to the number range specified on the package, which indicates the quantity of shrimp per pound. A higher number implies smaller shrimp (more shrimp per pound). In this case, I utilized shrimp that were 41-60 in size, meaning there were 41-60 shrimp per pound.
When buying shrimp, you have the option to choose between shell-on or shell-off, but it is recommended to remove the shell and tail prior to cooking. Although it is possible to keep the tail intact, I personally find it cumbersome to consume tail-on shrimp in dishes like pasta as it requires stopping and removing the tail with each bite.
Although this recipe is originally intended for raw (frozen or fresh) shrimp, it can be easily adapted to use pre-cooked shrimp if that’s what you have on hand. To incorporate pre-cooked shrimp, just toss them into the pasta towards the end.
How to Thaw Frozen Shrimp
If you are aware that you will be preparing this recipe in advance, you can move the shrimp from the freezer to the refrigerator and let it thaw overnight. However, if you didn’t plan ahead, there’s no need to worry! Shrimp can thaw rapidly by placing it in a colander and running cool water over it for a few minutes. Once it is thawed and peeled, make sure to dry the shrimp thoroughly using paper towels.
Can I Substitute the Shrimp?
If shrimp is not your preference, this recipe can also be enjoyed with diced chicken, sea scallops, or even chopped artichoke hearts!
Tips for Cooking Shrimp
Cooking shrimp may seem intimidating for beginners, but I assure you it’s a straightforward process. The key is to remember that shrimp cooks rapidly, and overcooking can result in tough and rubbery texture. Therefore, it’s essential to keep a close eye on your shrimp and remove them from the skillet as soon as they turn pink and opaque. This usually takes just a few minutes, depending on the shrimp’s size and the heat level of your skillet.
What Kind of Pesto to Use
If you’re looking to save money on pesto, it’s important to shop around. ALDI offers affordable pesto, but if there isn’t a store near you, consider checking if your grocery store has its own brand or look for Classico or Barilla brand pesto, which are usually more budget-friendly. Although I used basil pesto for this pasta, I believe it would also taste delicious with other flavors!

Step-by-step photos can be found by scrolling down.
How to Make Pesto Shrimp Pasta – Step by Step Photos
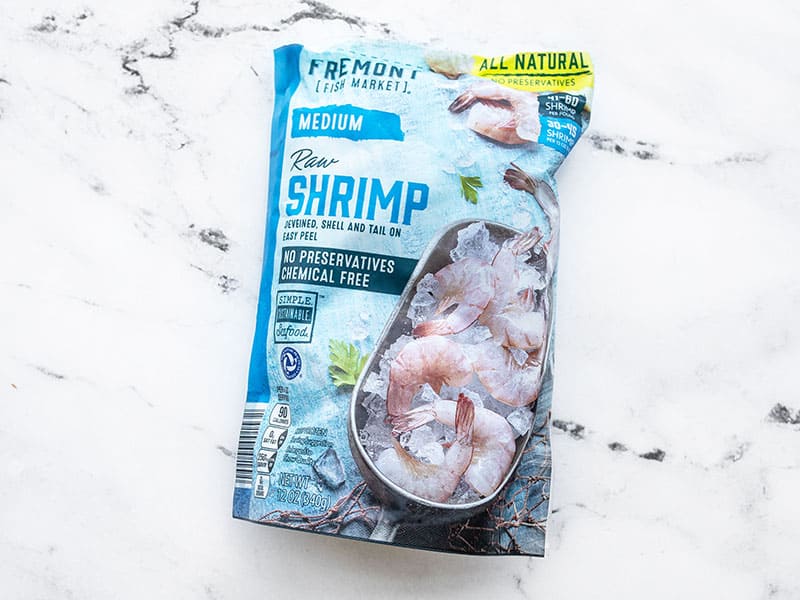
I utilized a 12oz. bag of shrimp, specifically in the size range of 41-60 per pound. To thaw the shrimp, I placed them in a colander and allowed cool water to run over them for a few minutes until they reached a suitable thawing point, enabling me to easily peel and remove the tails. After thawing, I gently dried the shrimp with a paper towel to eliminate any excess moisture.
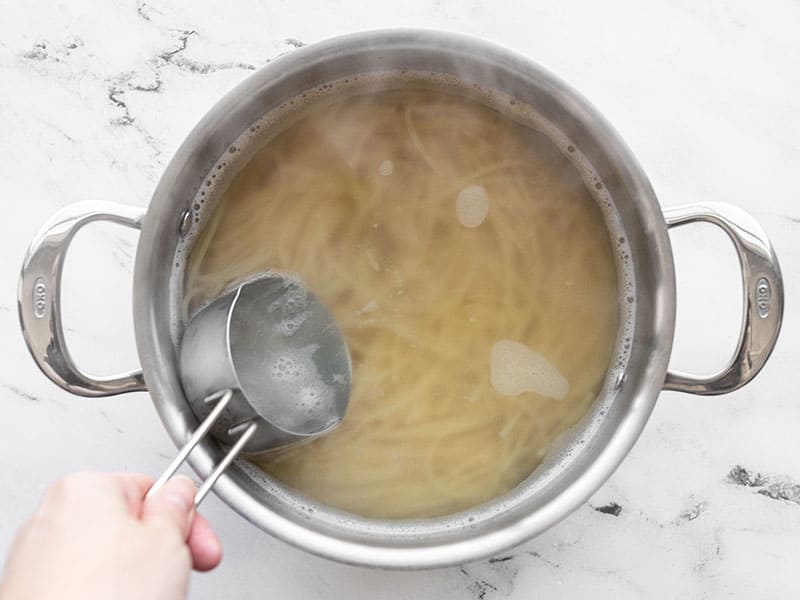
To cook the pasta, start by bringing a generous amount of water to a boil in a large pot. Once the water is boiling, add half a pound of angel hair pasta and let it cook until it becomes tender, which usually takes around 7 minutes. Before draining the pasta in a colander, make sure to set aside half a cup of the starchy pasta water. While the pasta is boiling, you can start preparing the shrimp.
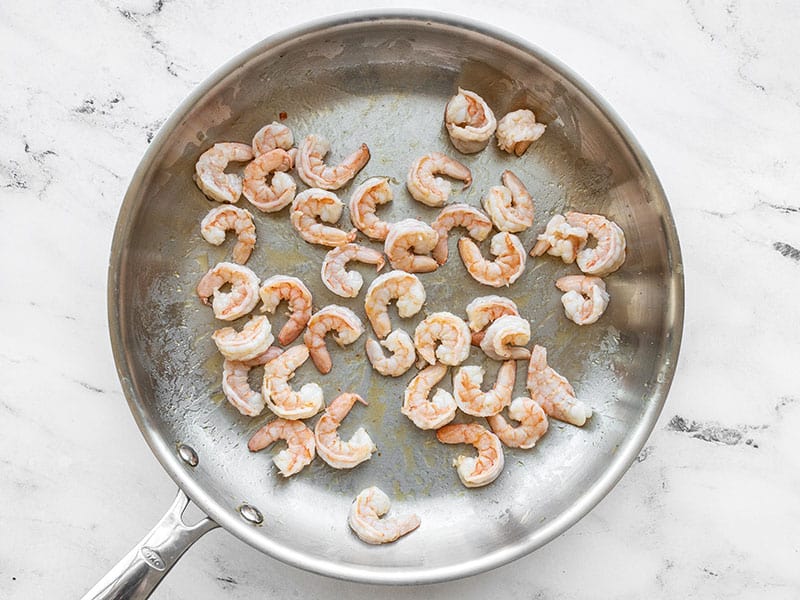
In a large skillet, heat a tablespoon of olive oil over medium heat. Once the skillet and oil are hot, sauté the shrimp until they turn pink and opaque, which should take around 2-3 minutes. Make sure to transfer the cooked shrimp promptly to a clean bowl, being careful not to overcook them.
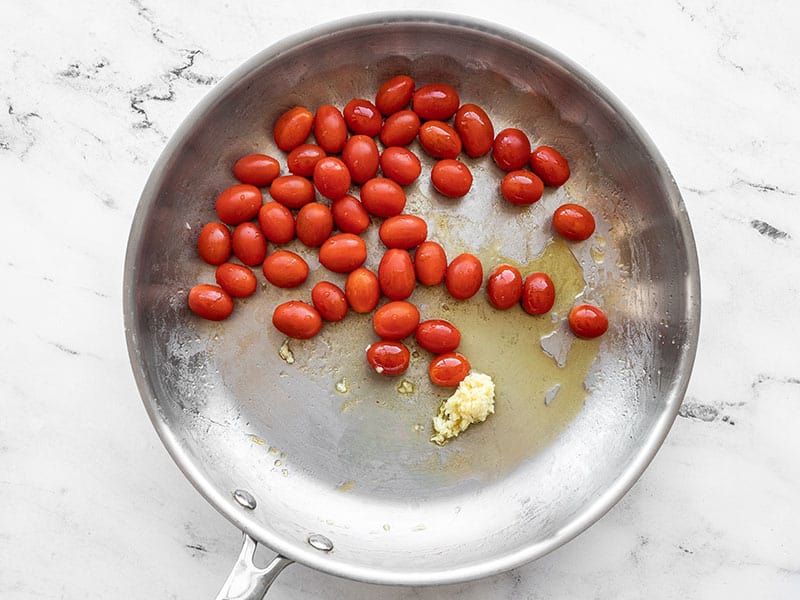
Incorporate the second tablespoon of olive oil into the skillet, together with the pint of grape tomatoes and 2 minced garlic cloves. Cook the garlic and tomatoes over medium heat, sautéing until the tomatoes start to burst and decompose.

In case the tomatoes are not fully ripe, they might take some time to burst. Therefore, if your garlic begins to turn brown before the tomatoes release their juices, you can prevent the garlic from browning by adding a few tablespoons of water to the skillet. Eventually, the tomato juices will form a delightful jam-like sauce at the bottom of the skillet.

After the tomatoes have partially broken down, combine the cooked and drained pasta, ¼ cup of pesto, and approximately half of the reserved pasta water in the skillet. Stir the mixture well to ensure everything is coated with the pesto, and incorporate more of the starchy pasta water if necessary to achieve a smoother consistency and to aid in spreading the pesto.
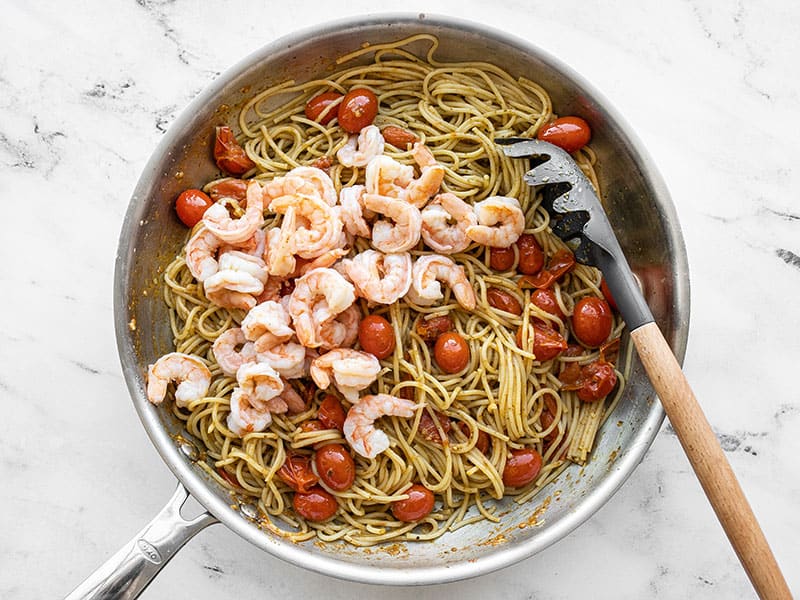
In conclusion, add the cooked shrimp back into the skillet and mix well with the pasta and pesto.

I prefer adding a small amount (approximately 1 tablespoon) of grated Parmesan on the surface. Optionally, you may include chopped parsley for visual appeal, although it does not contribute to the taste.
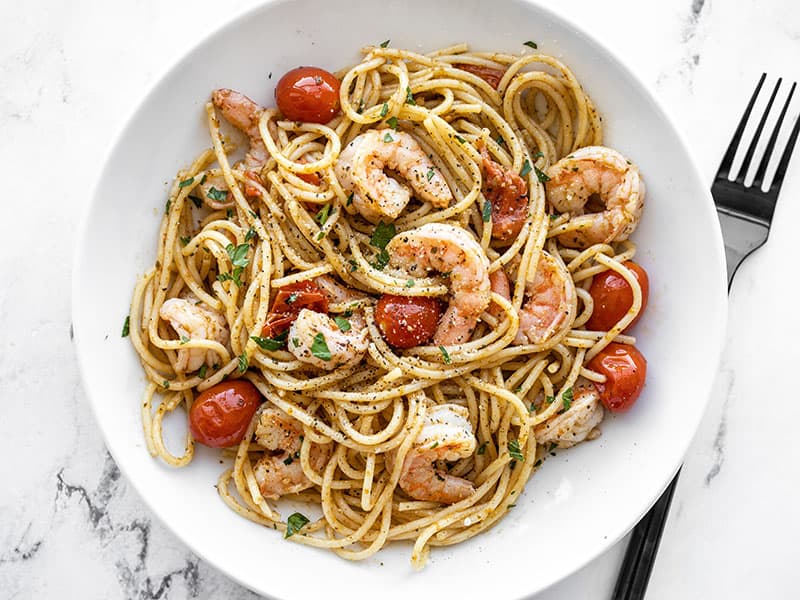
Go ahead and savor it! Adding a touch of freshly cracked pepper on top can enhance the flavor, and if you prefer some heat, sprinkle a pinch of crushed red pepper for a spicy kick!
Try These Other Budget-Friendly Shrimp Recipes:
